Updated · By Peter Kovalsky
How to Use a Countdown Timer for a Presentation
Quick answer: To use a countdown timer for your presentation, select a tool that accepts custom durations like the Mac Clock app, a web-based timer like Stagetimer, or a PowerPoint progress bar. Set the duration to your exact allotted time, start it when you begin speaking, and use time checkpoints to pace yourself.

Use a countdown timer to track how much speaking time remains. Set the duration, start it when you begin, and place the display where you can glance at it during the talk. The Mac Clock app is one option; Stagetimer also supports a countdown with a fixed duration.
Choose your setup around who controls the clock and where you need to see it. Then plan checkpoints and decide what to cut if you fall behind. The walkthroughs below cover a local Mac timer and a browser-based setup, followed by a worked pacing example.
Choose a countdown timer that fits how you present
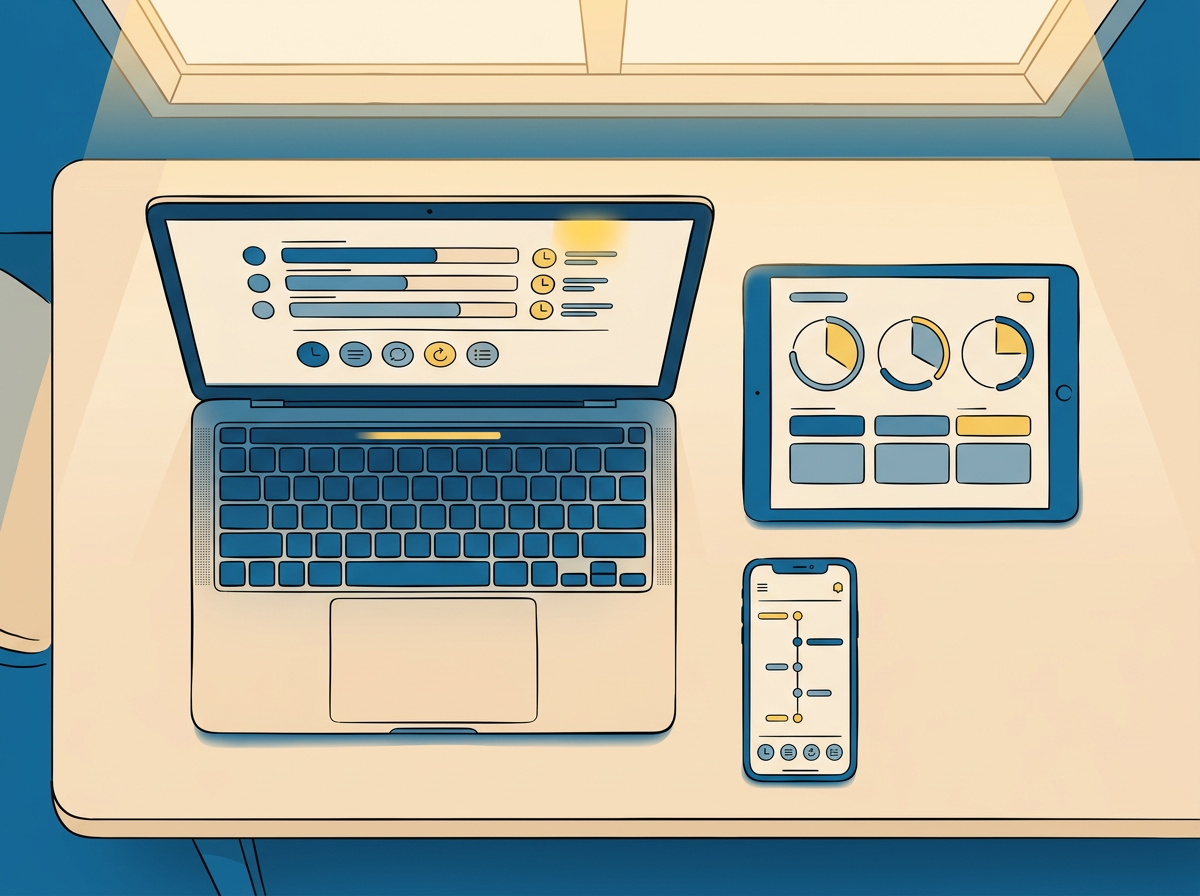
Presenters can choose from several distinct types of countdown timers depending on their presentation environment, the devices available, and whether they need a separate display.
If you are a solo presenter with only one screen, a standard device timer is often sufficient. A built-in tool such as the Mac Clock app allows you to set a custom duration to count down on your computer.
For a setup that includes a separate speaker display, a web-based timer is a practical choice. Stagetimer allows you to input a fixed numeric duration and broadcast the countdown to whatever screen the speaker can see, such as an iPad or a monitor connected to a computer. This keeps the timer running independently of the presentation slides.
For Google Slides presenters, Copresent combines a phone remote, speaker notes and a personal countdown. It is useful when you want those tools on the same device; the dedicated section below covers its requirements and timing controls.
Finally, if you want the timer built directly into your presentation software, you can create an in-deck visual timer in PowerPoint. However, this documented method does not yield a numeric countdown clock. Instead, you draw a rectangle shape and add a “Fly In” animation set to your desired duration in seconds. When you click during the slideshow to trigger it, the animated progress bar slowly grows across the slide until the time expires.
Set and start a countdown in the Mac Clock app
If you are a solo presenter who can see your own laptop screen, a local timer running directly on your computer is often all you need. On a Mac, you can use the built-in Clock app to set a custom countdown duration for your talk.
Follow these steps to set up and run your presentation timer:
- Open the Clock app on your Mac.
- Click Timers at the top of the window, or choose View > Timers from the menu bar.
- Set the amount of time to count down. Example: If you have a 15-minute presentation slot, set the timer to 15 minutes.
- Click Start right as you begin speaking.
Once started, the timer immediately counts down from the time you specified. Click Pause to stop the countdown and Resume to continue. For a fixed presentation slot, however, leave the timer running during questions or technical interruptions unless the organiser has also stopped your allotted time. If you need to abandon the current countdown entirely, click Cancel to reset the timer.
Run a Stagetimer countdown on a screen you can see
If you want to display your time on a separate monitor, projector, iPad, or laptop facing the speaker, you can use a web-based timer room. This is especially useful for multi-speaker events, because you can create separate timers for each segment to easily track individual speaking slots and transition smoothly between presenters.
Follow these steps to set up a web-based countdown using Stagetimer:
- Create a room: Start by creating a free room at stagetimer.io.
- Add a timer: On the controller page, click the “Add timer” button. Each timer you add includes a title, an optional start time, and a duration.
- Set the duration: Input a specific, fixed amount of time for the timer. For example, you might title it “Keynote Segment” and set the duration to exactly 10 minutes.
- Keep the Countdown appearance: The tool allows you to change how the timer is represented (such as Count Up or Time of Day), but you should leave the timer appearance on its default “Countdown” setting.
- Copy the Viewer link: To send the timer to your display screen, open Output Links on your controller page, select the Viewer output, and copy the link provided, as described in the display setup guide.
- Open the screen: On the device your speaker will be looking at, open a fresh browser window, paste the Viewer link, and press Enter.
- Start the timer: When the speaker begins talking, initiate the timer manually by pressing the “Play” button either on the transport controls or the timer cue itself.
Expected result: The Viewer window shows the timer as a countdown from your total specified duration to zero. The presenter can simply glance at this display to stay on pace.
Keep your countdown on your phone with Copresent
For Google Slides presenters, Copresent brings the countdown onto the phone used to change slides and read speaker notes. That combination is useful when you want to glance at your notes and remaining time without switching to a separate timer device. It is a different fit from an event timer managed by someone at a control desk: here, each presenter can keep track of their own speaking time.
The personal countdown is a Pro feature. Copresent currently works with Google Slides, rather than PowerPoint or Keynote. Check the current plan details before choosing it specifically for its timer.
To reach the controller, follow Copresent’s desktop setup: the host installs the Chrome extension on the presenting computer, opens the Google Slides deck and clicks Copresent beside Slideshow. The host then scans the controller QR code with their phone, or selects Open host controller, and signs in with Google on the controlling device. The phone controller runs in a browser; a separate mobile app is not required.
The personal timer lets you set a countdown and see the remaining time. During the talk, its + and − controls add or remove a minute, and you can pause, resume or reset the timer. These are controls for managing the timer; changing the display does not extend an event’s actual deadline. If questions are included in your allotted slot, leave time for them rather than pausing the countdown whenever someone asks one.
For a shared presentation, each co-presenter has their own timer on their own device. A useful rehearsal approach is to agree each person’s speaking allocation and handover point, then use those individual countdowns to track the agreed segments. Treat this as a planning suggestion, not an automatic shared schedule.
Choose this setup when you present in Google Slides and want the timer alongside your remote and notes. If you need an organiser to run the clock on a separate speaker-facing screen, the Stagetimer walkthrough above describes that arrangement.
Place the timer where you can glance at it
For an in-person presentation, position your countdown timer where you can check it without obviously looking away from your audience. Common and discreet placements include a dedicated monitor at the foot of the stage, an iPad on a stand near the podium, or simply keeping your laptop screen facing you. If you are speaking from a fixed point, you can also lay your phone flat on the lectern with the countdown visible. This setup allows you to glance down at the remaining time during natural pauses between slides.
If you are delivering a virtual presentation, your placement strategy changes. Looking down at your desk or checking a different monitor will break eye contact with the camera. Instead, prop a small phone next to your webcam to display the timer. Placing the countdown immediately adjacent to your video feed lets you track your time with less need to look away from the camera.
Rehearse the complete setup
Before presenting, run through your opening with the slide deck and timer in their intended positions. Can you read the countdown while standing where you will speak? Is the timer still visible when your slideshow fills the screen? If you are sharing your screen remotely, check the audience view so you know whether they can see your timer and notes.
If questions are included in your slot, reserve time for them when you set your checkpoints. For example, a 15-minute slot with five minutes reserved for questions leaves ten minutes for the prepared talk. Agree that allocation with the organiser rather than assuming the Q&A gets extra time.
Use the remaining time to pace your talk
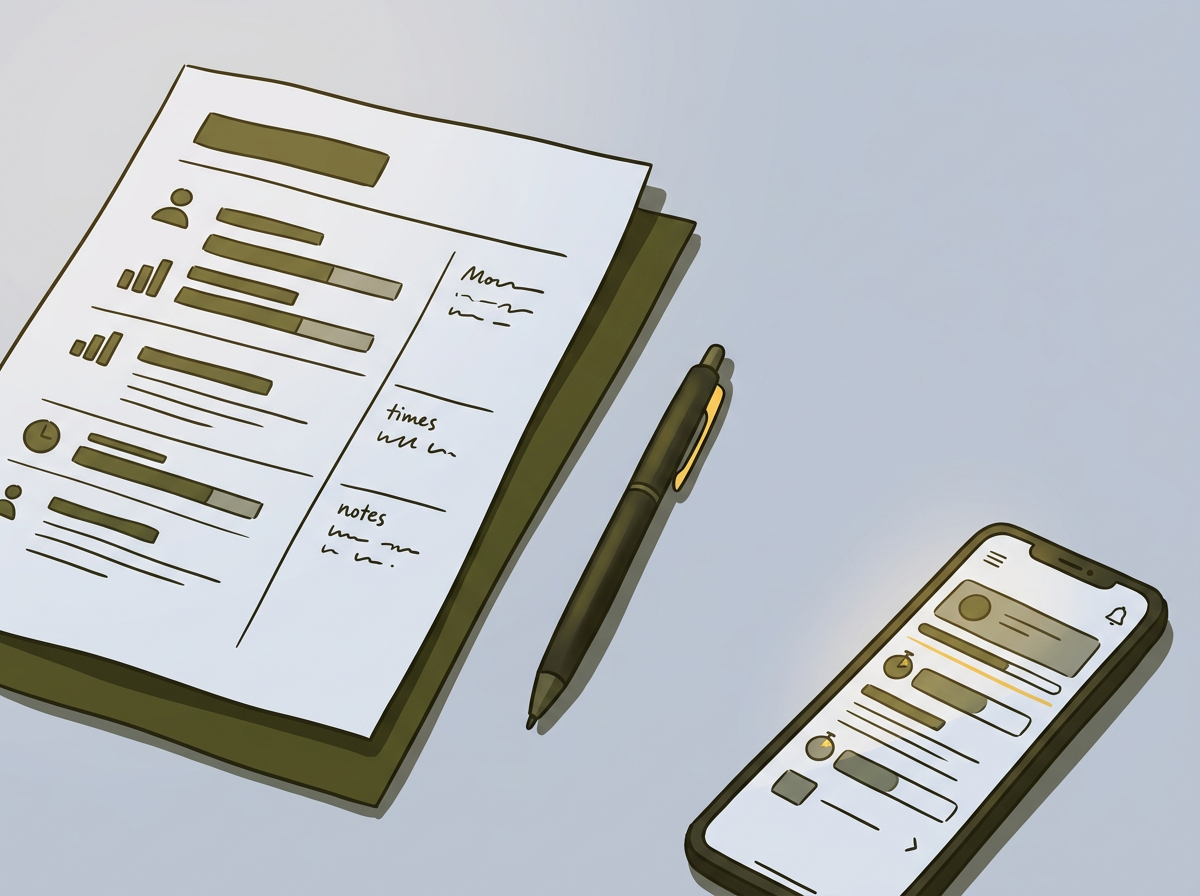
Use the countdown to make decisions, rather than watching every second. Decide where you should be at a few points in the talk and mark those checkpoints in your notes. If you are behind, cut the least critical section of your body content rather than rushing the ending.
Worked example: a 15-minute talk
This is an illustrative allocation for a talk without a separate Q&A segment. Adapt it to your material rather than treating the timings as a rule.
| Time remaining | Planned progress | Action if you are behind |
|---|---|---|
| 12:00 | Opening finished; begin your main argument | Shorten the opening and move to the main point. |
| 07:30 | About halfway through the talk | Skip the optional example you marked in your notes. |
| 03:00 | Begin the conclusion | Stop adding body material and move to your closing message. |
| 00:00 | Finish | End with the request or takeaway you prepared. |
Suppose you reach the halfway checkpoint with only six minutes remaining. You are 90 seconds behind the example schedule. If you marked a roughly 90-second secondary example as optional during rehearsal, omit it and cut the least critical section of your body content. This is a planning example, not a guarantee that every spoken section takes exactly its rehearsed time.