Updated · By Peter Kovalsky
Google Slides Video Not Playing? Check These Causes
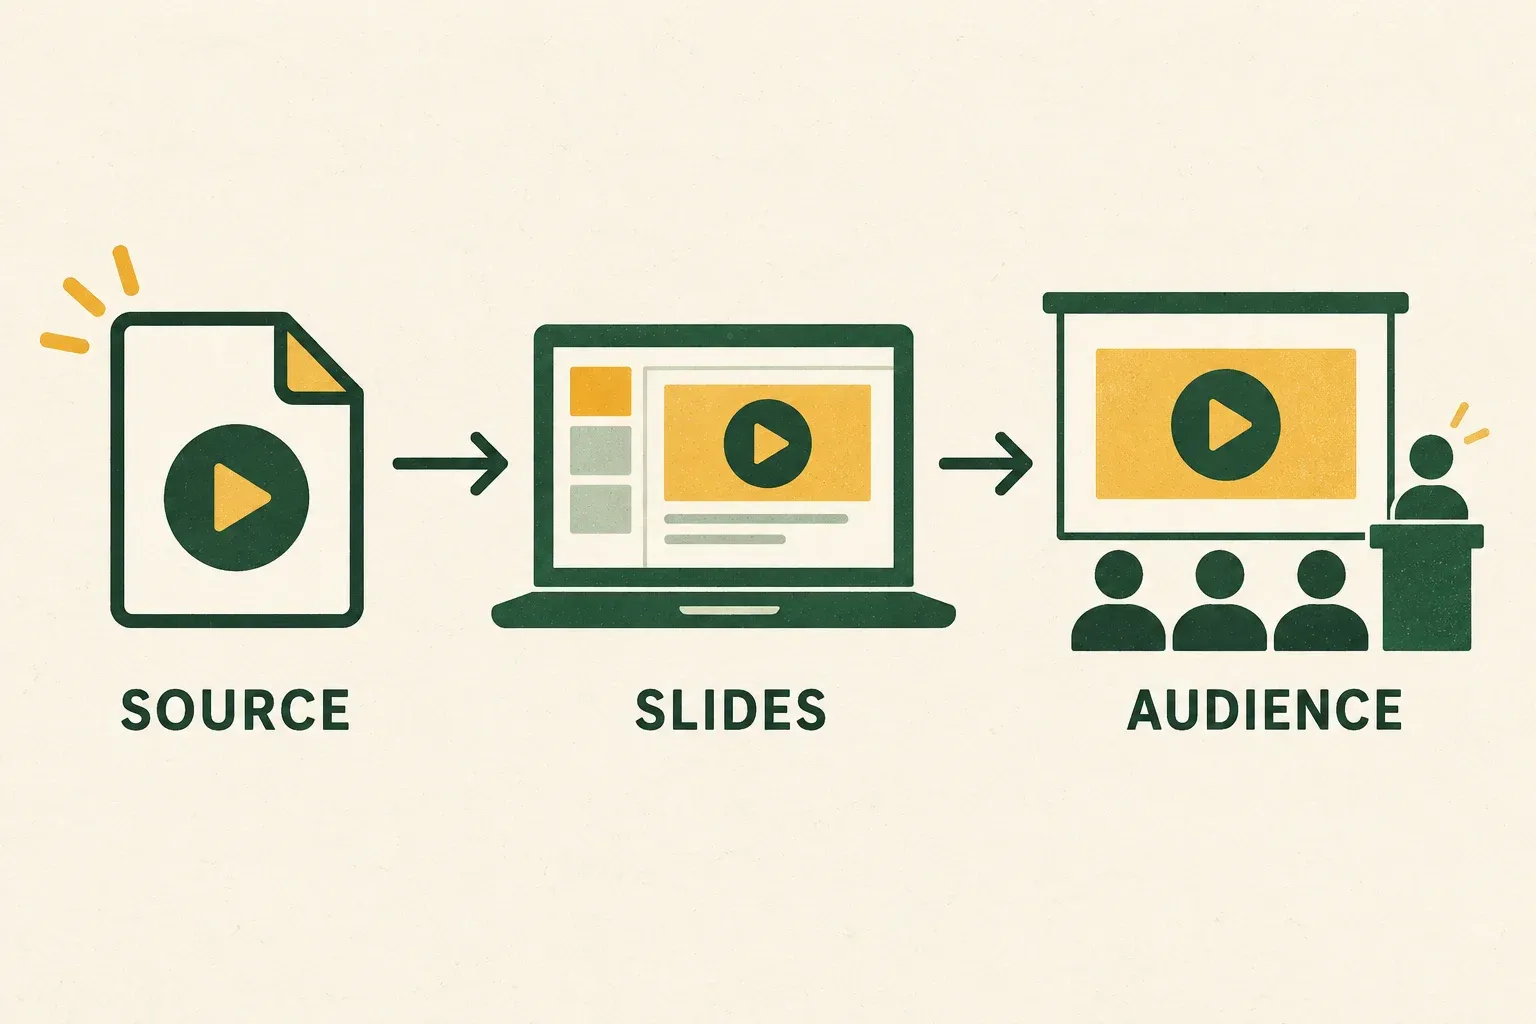
When a Google Slides video will not play, first open the original video using the account and computer that will present the deck. If the source fails too, investigate access or playback there. If the source works, return to Slides and check how the embedded video is set to start. If it plays locally but the audience cannot hear it, troubleshoot the audio output or meeting share.
That order keeps three different problems from turning into one round of random changes. This guide covers desktop presentations with YouTube or Google Drive video. If you have not added the clip yet, start with how to add a video to Google Slides and come back here if it misbehaves. It follows the linked platform documentation; the rehearsal examples are suggestions, not claims of testing every browser or error code. The images illustrate the diagnostic path rather than reproduce software screens.
Find where playback stops
Write down the slide number, video source and exact message before changing anything. “The video is broken” is less useful than “the presenting account can open the deck, but the Drive video asks for access.”
| What you observe | First place to investigate |
|---|---|
| The source video will not open | The source account, access or availability |
| Drive reports that the file is processing | The uploaded video, before changing the slide |
| The source works but the embedded clip stays still | The video’s playback setting in Slides |
| Only another presenter has trouble | Their account, browser session and media access |
| The clip starts at the wrong point, stops early or is silent everywhere | The start time, end time and mute setting in Slides |
| The clip plays but no sound reaches the audience | The player, selected audio output or meeting share |
Make one change, then repeat the same check. Keep the original message in your notes so you can tell whether you solved that problem or merely reached a different one.
Check the video source with the presenting account
For a Drive video, find the original file in Drive and double-click it to try playback. For a YouTube video, open its watch page. Use the same browser profile and account intended for the presentation. Once the source plays, return to the affected slide and test it in slideshow mode; success in a separate tab has only cleared the first checkpoint. A successful test in the file owner’s account is not a substitute for a test by the person running the deck.
Google’s Slides media guide describes an access checker that can suggest media permission changes when a presentation is shared. Review that prompt when adding presenters. Confirm the intended person can open both the deck and the source video; do not assume access to one establishes access to the other.
Ask the owner to grant the access that the presenting account needs. Keep organizational restrictions in place and avoid changing a confidential clip to public just to remove an error. If the owner is unavailable, use a different approved example or the prepared fallback.
For a team rehearsal, write the operator’s name beside each media check. If a colleague will take over the presenting computer or run a separate copy of the deck, repeat the check in that arrangement. The audience watching one shared screen and a colleague opening the file themselves are different access situations.
A newly uploaded Drive video may still be processing
Drive can allow immediate playback in the same browser session that uploaded a video while other viewers or devices still need processing to finish. A successful uploader preview therefore does not prove the clip is ready for your co-presenter. Google explains this distinction in its Drive video playback guide.
If Drive reports processing, allow time and check again with the presenting account. If it reports an unplayable file, review the original file and Google’s supported-format guidance before uploading a replacement. Do not promise yourself that a particular waiting period will resolve every upload.
Schedule that check before the final rehearsal. A last-minute replacement resets your confidence in the media: inspect the new file, confirm access, then check the embedded version again. Keep the previous working option available until the replacement has passed the relevant checks.
Match the video setting to the action you expect
In the Slides editor, select the video and open Format options → Video playback. Google’s media instructions distinguish these choices:
- Play (on click): starts through an advance action in the presentation sequence.
- Play (automatically): starts without a click.
- Play (manual): requires clicking the embedded video itself.
Choose deliberately, then start the slideshow from the preceding slide and rehearse the transition. An automatic clip and a manually started clip require different speaking cues. Test the sequence you intend to use, rather than only checking whether the preview can play in the editor.
For example, a hypothetical training talk might need a spoken introduction before a demonstration. A manual start gives the operator an explicit action after that introduction. Write “introduce clip, start video, return to explanation” in the cue sheet and agree who performs each action.
The same Video playback panel also holds the start time, end time and a mute option. A clip that opens partway through, cuts off before the part you need or plays with no sound on every device may simply have been trimmed or muted when it was added. Check those three settings before you treat it as a source or audio fault. The trim and playback section of the video guide explains each one and shows how to set them.
If the video points to the wrong source, use Insert → Video and choose the intended YouTube or Drive item. Keep a copy of the slide before replacing a working layout, and check the inserted item rather than relying on a familiar thumbnail. If you are adding the clip for the first time, the step-by-step guide to adding a video to Google Slides covers YouTube, Drive and phone clips, trimming and the playback settings.
If a YouTube clip fails outside Slides too
Treat this as a source playback problem first. Read the message on YouTube, confirm the intended account and try the video there before changing the deck. A deleted, restricted or otherwise unavailable source is not repaired by moving its box around a slide.
YouTube’s official troubleshooting steps include checking the connection, updating the browser and checking whether extensions affect playback. Use those checks during preparation, with enough time to return to the presentation and retest it.
If the video still cannot play under the venue’s approved account and network conditions, choose another permitted source or explain the point without the clip. Avoid turning a presentation rehearsal into an attempt to bypass a school’s or employer’s restrictions.
Check browser conditions without resetting everything
Google’s Drive guidance lists third-party cookies as a playback requirement. In Chrome, follow the site-specific cookie controls if the relevant site is blocked: Settings → Privacy and security → Third-party cookies contains the exceptions list. Check your organization’s policy before changing managed settings.
Incognito is not an equivalent test of your usual presenting session. Chrome blocks third-party cookies there by default, and you may be signed out of the account with access. A clip failing in that window does not, by itself, prove the source file is unusable.
Keep troubleshooting changes narrow and reversible. Record what you changed, reopen the intended deck and try the same clip. If the result is unchanged, do not keep weakening unrelated settings in the hope that something will work.
Avoid deleting all browser data immediately before a talk. Chrome notes that deleting cookies can sign you out and remove saved preferences. If a deeper reset is necessary, do it with time to restore the account, permissions and presentation setup, then rehearse again.
Separate missing sound from a video that will not start
Look at the clip’s progress and picture before changing audio settings. If it is visibly playing, first confirm the video is not muted in Format options → Video playback, then check the player volume and the computer’s selected sound output. Then ask someone on the receiving side what they hear. Your microphone working is not proof that recorded audio reaches them.
For a Zoom call, follow the shared-video sound checks and verify the actual clip with a participant. For a room display, use the TV connection and audio checks. Keep those delivery problems separate from Drive processing or media access.
After any audio repair, play the opening of the clip and then speak again. Ask the listener to confirm both are understandable. Return to your planned starting slide so the rehearsal itself does not leave the presentation halfway through the example.
Prepare a fallback before the audience arrives
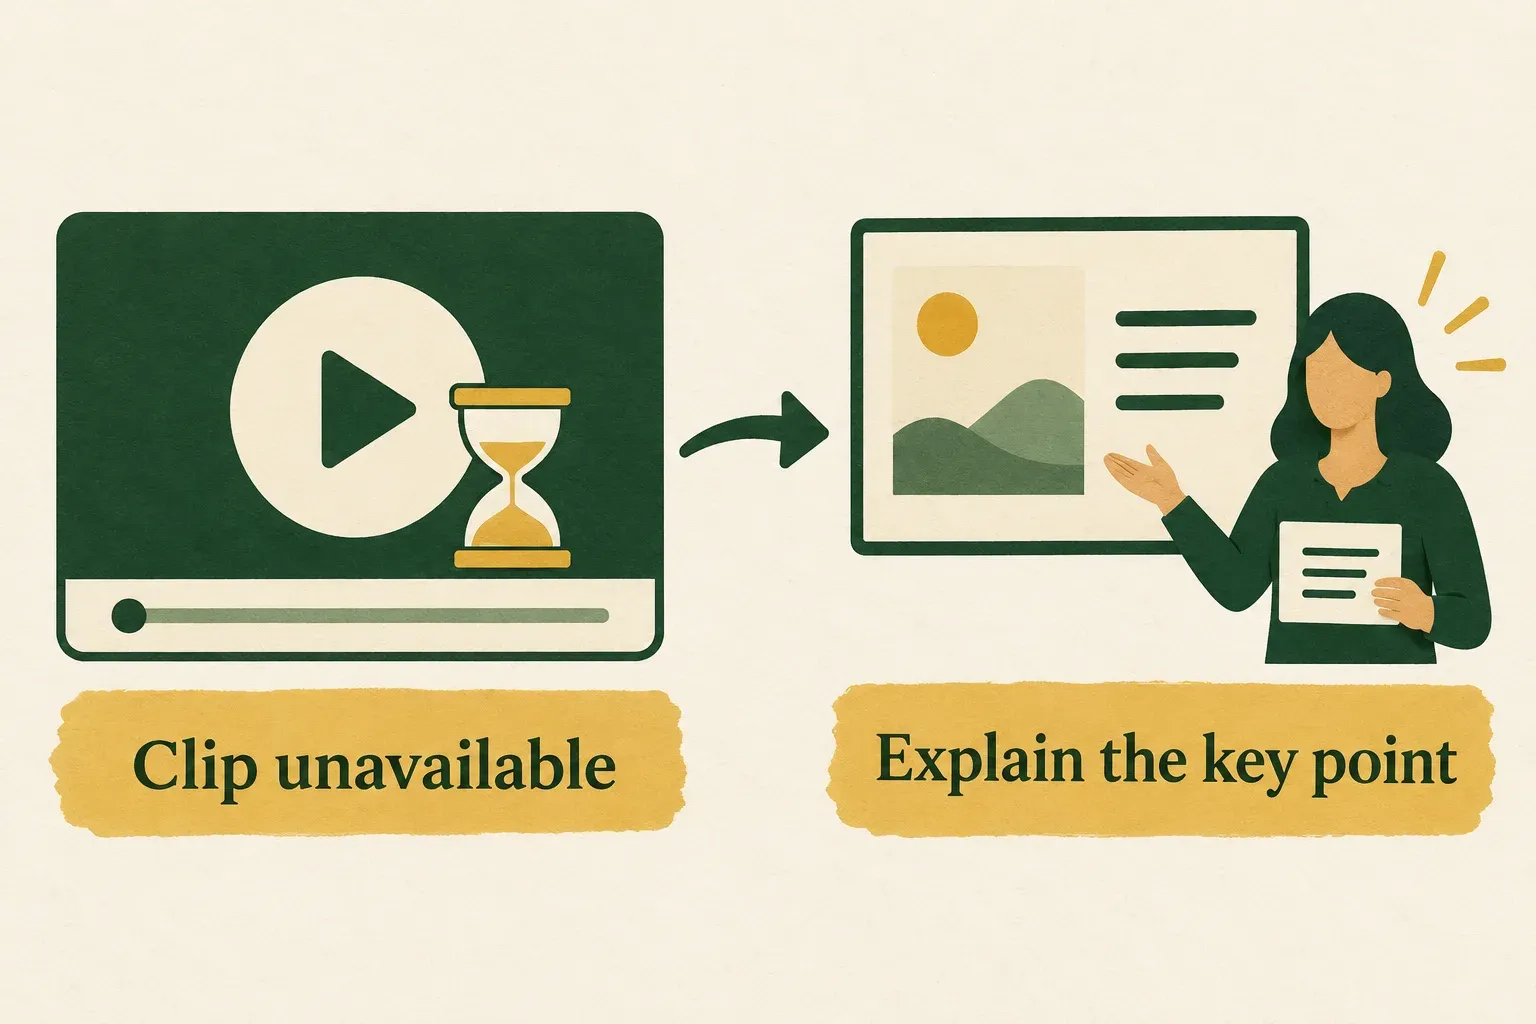
Prepare a still, simple diagram or short explanation that preserves the reason for including the video. Use material you are allowed to present. A fallback should teach the same point, rather than merely apologize for a missing clip.
Here is a hypothetical cue for a product demonstration: “If the video does not start after one deliberate attempt, show the three-step diagram, explain the result, then continue to the comparison slide.” Set your own stop condition before presenting so the room does not wait through repeated reloads.
Keep the next slide title in that cue. A media fallback needs a way back into the talk, especially when another speaker is waiting to continue. If you have to leave the slideshow to investigate, protect private material and recheck the audience output before resuming.
For unreliable internet, prepare the offline deck and local fallback. Making the slide file available offline is not proof that every online video dependency will remain usable.
Keep a compact preflight record for each clip: slide title, source link, presenting account, start action, audience check, fallback and return slide. Add the date you checked it. If the source file, account or venue setup changes, repeat the affected checks instead of carrying forward an old pass.
Before the event, confirm four things together: the presenting account opens the source, the embedded clip starts at the intended moment, the audience receives its picture and sound, and the speaker can continue without it. Those checks give you a usable plan even when the problem cannot be fixed on the spot.