Updated · By Peter Kovalsky
How to Add a Video to Google Slides (YouTube, Drive or Phone)
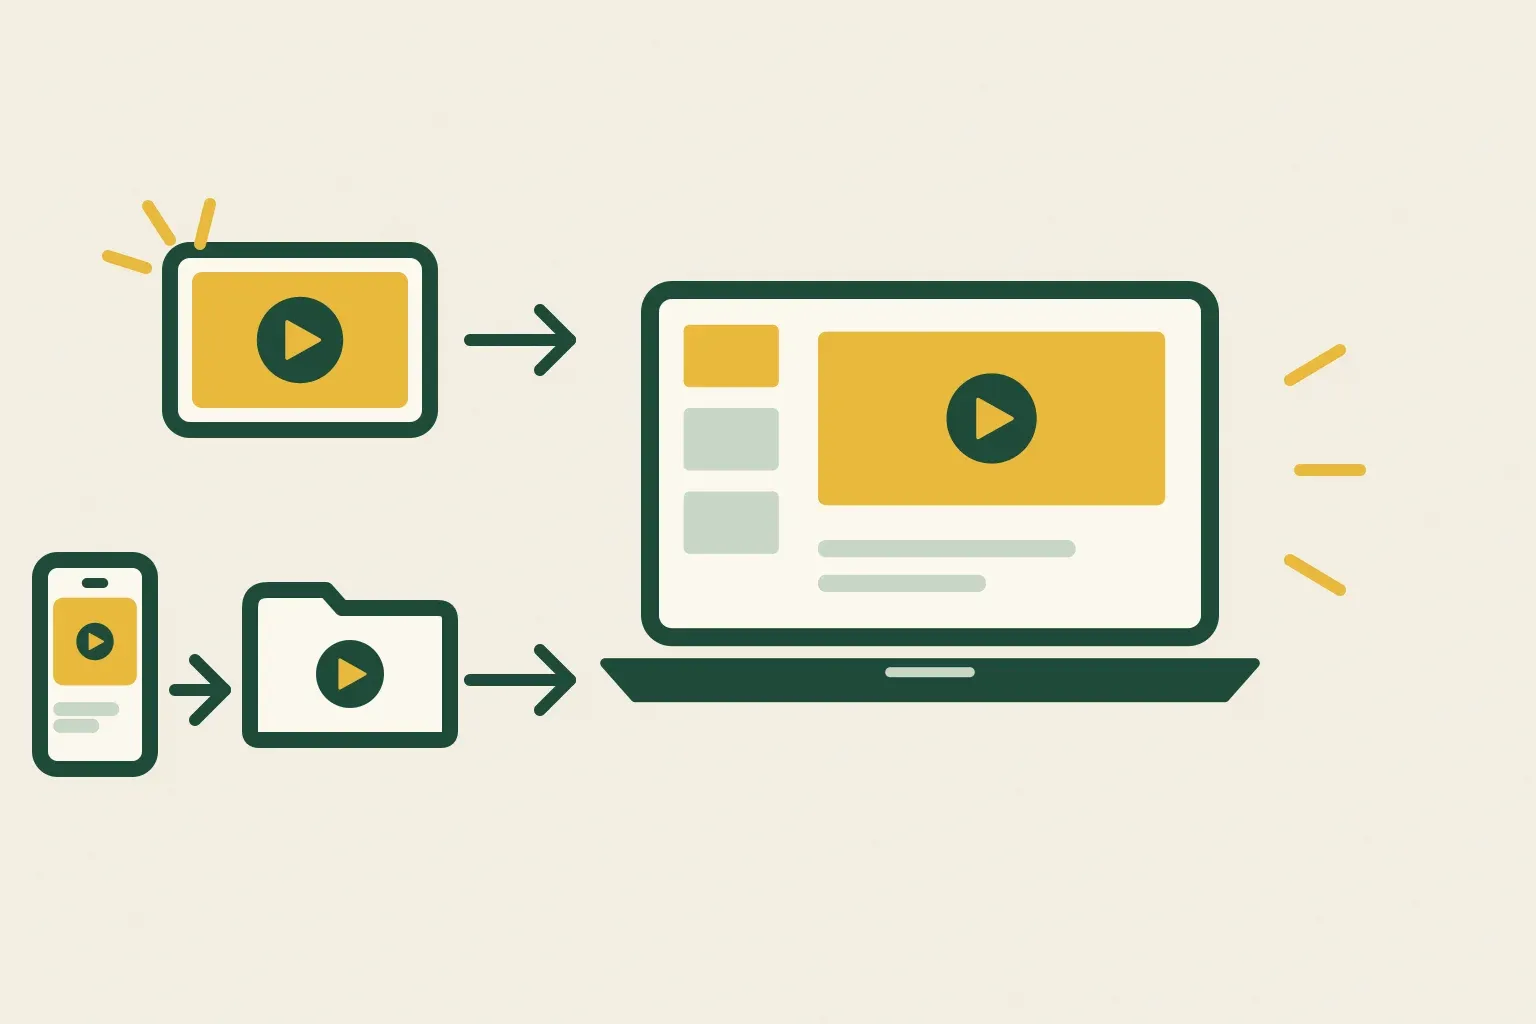
To put a video in Google Slides on a computer, open the presentation, click the slide, then choose Insert → Video. Pick the clip from a YouTube search, a YouTube link or your Google Drive, and click Select. The video appears on the slide, where you can move it, resize it and decide when it plays.
That is the whole insert. The parts that decide whether the clip works in front of an audience come after it: where the video lives, who can open it, which part plays and what starts it. This guide covers each source, including a clip you filmed on your phone, then the settings and a short check before you present. Steps follow Google’s own help pages, linked in each section; menu names can shift slightly as Google updates Slides. For sound without a picture, such as background music or a recorded voice-over, see how to add music and audio to Google Slides.
Choose where the video comes from
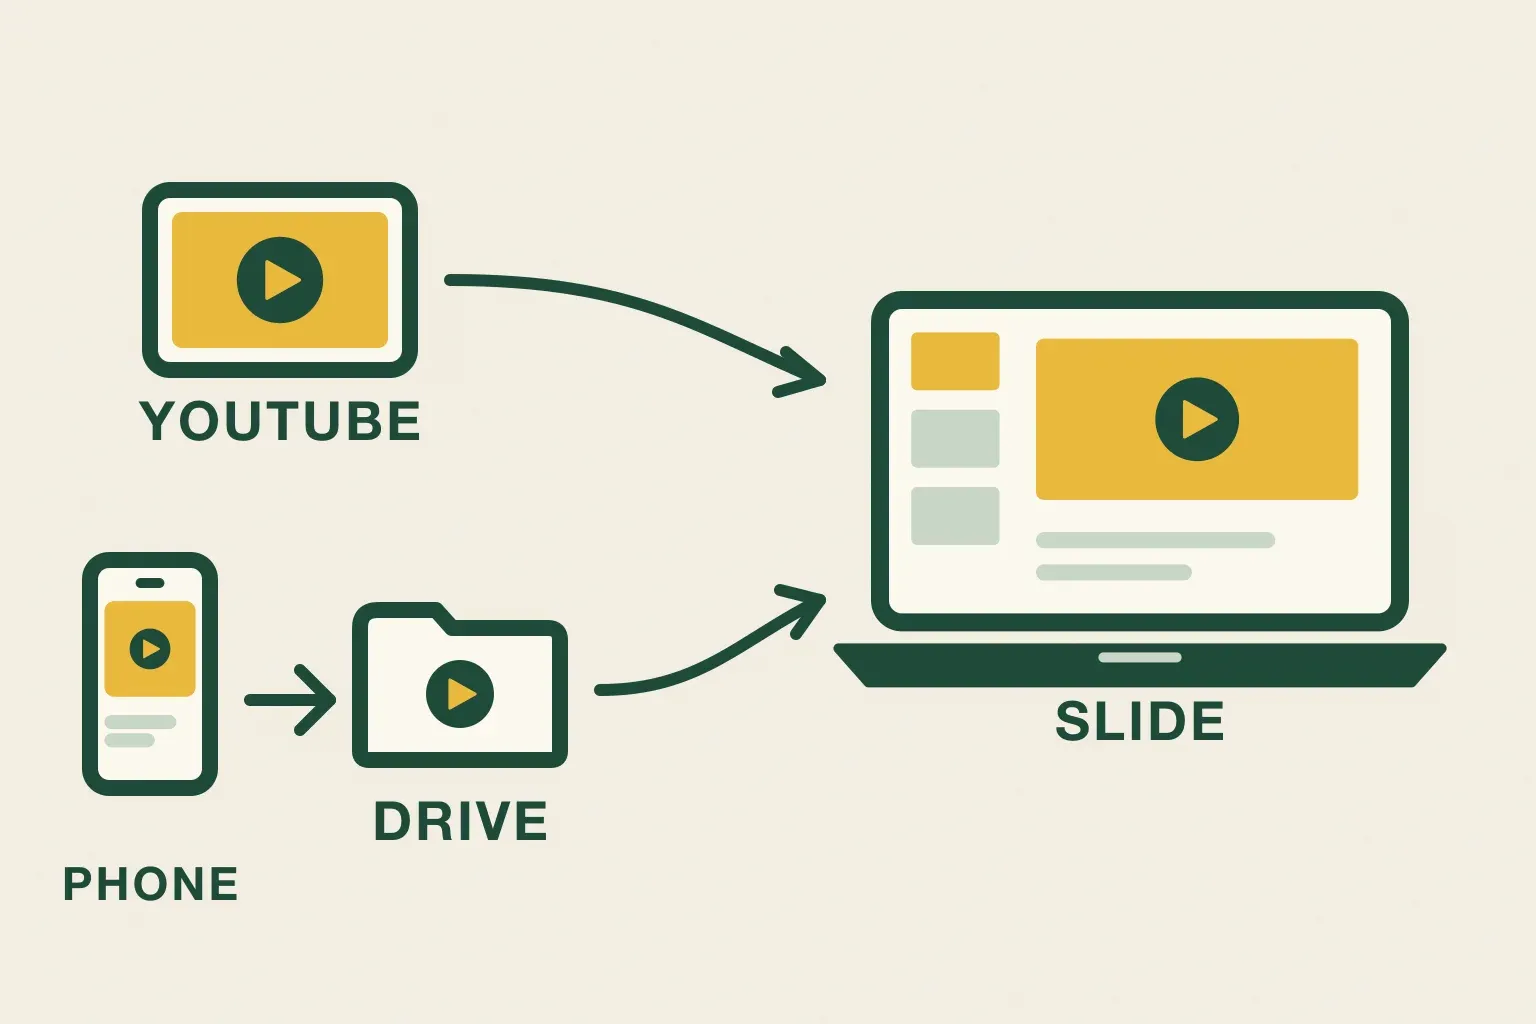
Google Slides embeds video from two places: YouTube and Google Drive. The Slides API reference lists exactly those two sources, and the Insert dialog matches them. Everything else, including a clip on your phone, reaches the slide by being uploaded to Drive first.
| Your video is… | Use | Good to know |
|---|---|---|
| Already on YouTube | YouTube search or the link | Plays from YouTube, so it needs an internet connection and must stay available there |
| A file on your computer | Upload to Drive, then insert from Drive | Drive may need time to process a new upload |
| On your phone | Upload with the Drive app, then insert on a computer | Covered step by step below |
| On another site, such as Vimeo or Loom | A link, or a Drive copy if you are allowed to download it | Slides does not embed those players directly |
| A Google Vids video | Export it to Drive, then insert from Drive | Google’s help gives this as the route for Vids |
Add a YouTube video to Google Slides
- Open the presentation on a computer and click the slide that should hold the video.
- Choose Insert → Video.
- To find a clip, use the YouTube search in the dialog. If you already have the video open in YouTube, copy its address and paste it into the URL option instead.
- Click the video, then click Select.
Pasting the link is the safer choice when you know the exact video: a search can return a re-upload or a similarly named clip. After inserting, play the first few seconds in the editor to confirm it is the right one.
A YouTube clip stays on YouTube; the slide shows it in a player. If the owner deletes it, makes it private or restricts where it can play, your slide stops working too. For a talk that matters, open the YouTube page on the presenting computer the day before and check that it still plays.
Embed a video from Google Drive
- Upload the video to Google Drive if it is not there already. A new upload can play for you immediately but still be processing for others, as Google’s Drive video guide explains, so upload well before the talk.
- In Slides, click the slide and choose Insert → Video.
- Open the Google Drive option, find the file, click it and click Select.
Drive plays common formats, including MP4 and MOV with H.264 video, and Google lists the supported video types. Drive’s maximum playback resolution is 1920 × 1080, so there is no benefit in fighting a 4K upload for a slide. If Drive shows “Video is still processing”, wait and try again rather than uploading a second copy.
Access is the other half. When you share a presentation that contains a Drive video, Slides’ access checker can suggest giving the new people permission to the media too, according to Google’s Slides media help. Read that prompt instead of dismissing it. If a co-presenter will run the deck from their own computer, ask them to open the video in their account before the day.
Add a video from your phone
Google’s help for the Slides apps on Android and iPhone gives steps for inserting images, not videos. The route that works the same for everyone is: upload the clip from your phone to Drive, then insert it on a computer.
On Android: open the Google Drive app, tap New, then Upload, and choose the video. Google’s Android upload steps say the file lands in My Drive unless you move it.
On iPhone or iPad: open the Google Drive app, tap Add, then File upload, pick the video and tap Upload, following Google’s iPhone and iPad steps. If the clip is only in the Photos app, share it to Files first with Save to Files, then pick it from there.
Keep the phone app open until the upload finishes, preferably on Wi-Fi: phone video files are large. Then, on your computer, follow the Drive steps above. A useful habit is to rename the clip in Drive before inserting it, for example “Lab demo — slide 6”. The name is what you will search for in the Insert dialog, and it tells a co-presenter what the file is for.
Filming in landscape fits a widescreen slide better. A portrait clip still works, but it will look tall and narrow on a widescreen slide, so plan the layout around it.
Trim the clip, resize it and choose when it plays
Click the video, then click Format options in the toolbar, or right-click the video and choose Format options. The Video playback section holds the settings that change what the audience sees.
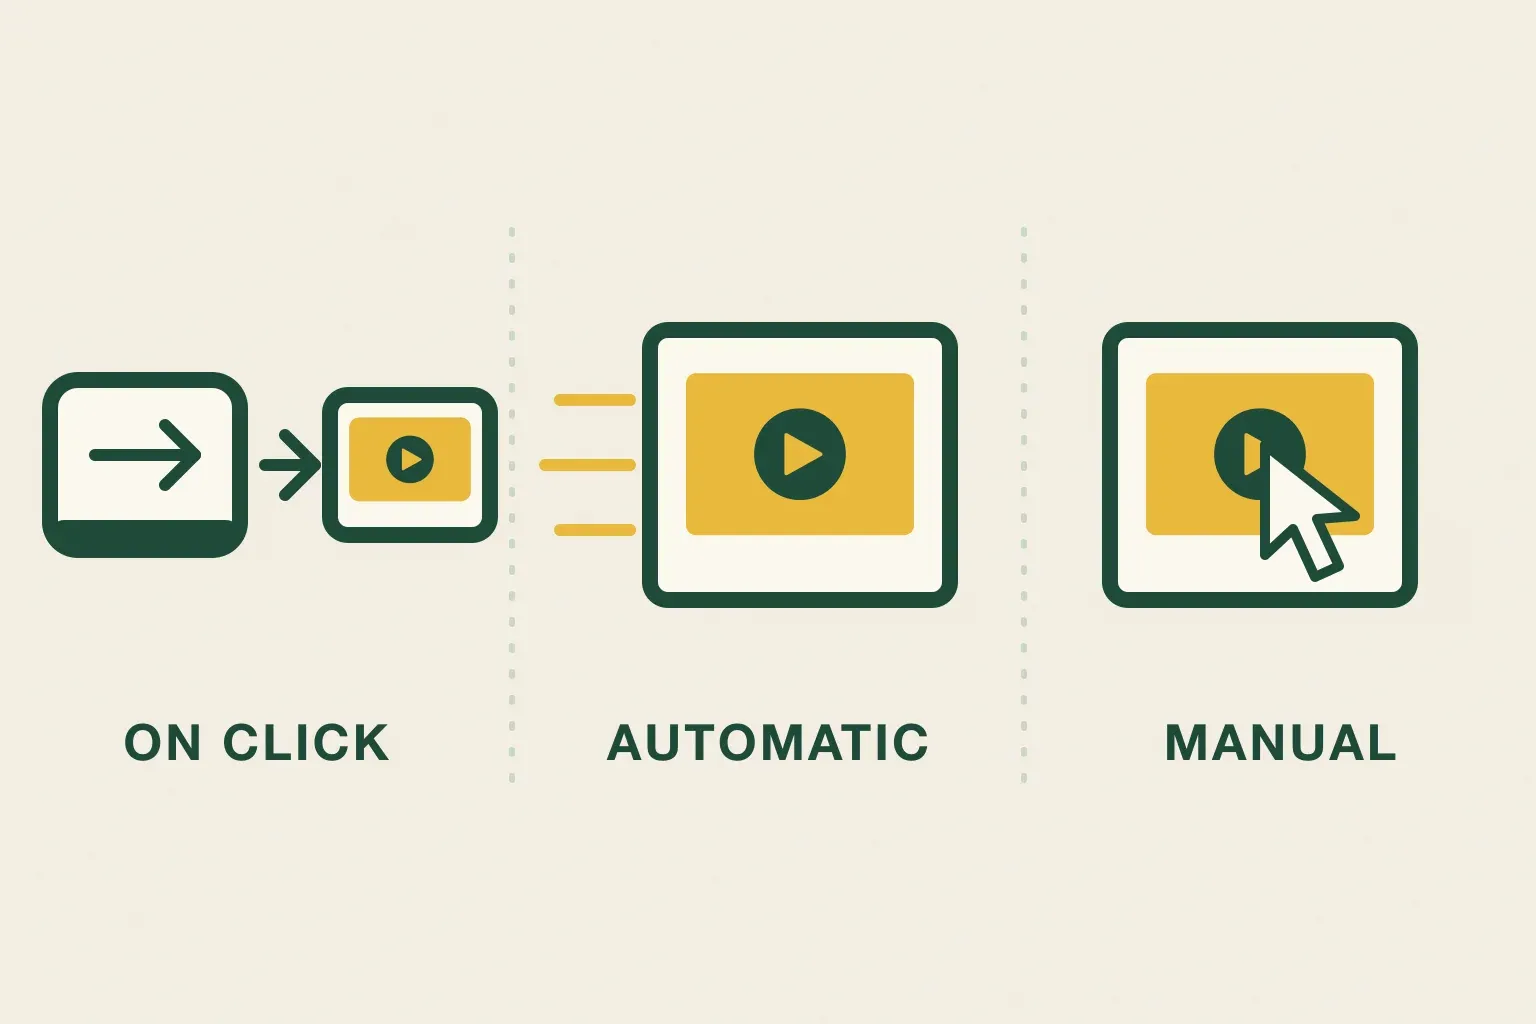
When it plays. Google’s media help describes three choices:
- Play (on click) is the default. The video starts on your next advance, the same way the next animation would. Google notes that a key press, a mouse click or a remote clicker all count.
- Play (automatically) starts the video as soon as the slide appears.
- Play (manual) waits until someone clicks the video itself. This used to be the default, so older decks may still behave this way.
Which part plays. In the same panel you can set a start time and an end time, so a ten-minute video can play only the 40 seconds you need. You can also mute the clip’s audio, which suits background footage while you talk. The Slides API defines the same start, end and mute settings.
Size and position. Drag a corner handle to resize the video and drag the middle to move it. Leave some room around the frame when you can; a video squeezed into a corner with text beside it is hard to watch on a projector.
While a video is selected in the editor, Google’s keyboard shortcuts include k to play or pause and m to mute, which makes checking trim points quicker.
A worked example
Hypothetically, a teacher wants 45 seconds from the middle of a seven-minute documentary on YouTube, starting after the slide’s question has been read aloud. They insert the video by its link, set the start and end times around the 45 seconds, and leave playback on Play (on click). In the slide’s speaker notes they write: “Read the question. Click to start clip. When it ends, ask: what changed?” The click is now part of the plan rather than something to remember on the spot.
Present the video smoothly
With Play (on click), the advance that would normally move to the next slide starts the video instead. Press it again after the clip and you move on. This catches out presenters who expect the first click to change slides, so run through the slide once in slideshow mode and note how many advances it takes.
If you present from your phone, the same rule applies. Copresent’s phone remote sends the same advance as pressing the right arrow key on the presenting computer, so an on-click video starts from your phone like any other step. Rehearse it once with the real deck. Writing the cue into your speaker notes, as in the example above, pays off here: you can read your notes on your phone and see “click to start clip” at the moment you need it. If you present from Google’s own Presenter view instead, the same notes appear there; the presenter view guide covers how to keep that window off the shared screen.
Plan the sound separately. A video that plays loudly on your laptop speakers may be silent in a video call or on a TV. For calls, follow the Zoom sharing steps and ask someone to confirm they can hear the clip. For a room screen, use the TV and audio checks.
If the video will not play
Most failures fall into a few groups: the source is unavailable, the Drive file is still processing or not shared, the playback setting is not what you expected, or the browser is blocking something. Open the original video with the presenting account first. If it fails there, fix the source; if it works there, look at the slide’s settings. The video not playing guide walks through each cause in order, with a fallback plan.
Embedded videos play from YouTube or Drive, so don’t count on them in a venue with unreliable internet. Making the deck available offline does not prove its videos will play; the offline presentation guide covers what to prepare, including a still image or short explanation that makes the same point without the clip.
Check before you present
Run this on the computer and account that will present, in slideshow mode, not just in the editor:
- Source: the YouTube page or Drive file opens and plays for the presenting account.
- Trim: the clip starts and ends where you set it.
- Start: it starts on the advance, automatically or by click, as you planned, and you know how many advances the slide takes.
- Sound: the audience hears it, through the room or the call, and you can speak clearly again afterwards.
- Fallback: you have a still image or one-line explanation ready if it fails.
Video in Google Slides is quick to insert. A two-minute rehearsal on the real setup is what makes it play at the right moment.