Updated · By Peter Kovalsky
How to Print Google Slides with Speaker Notes
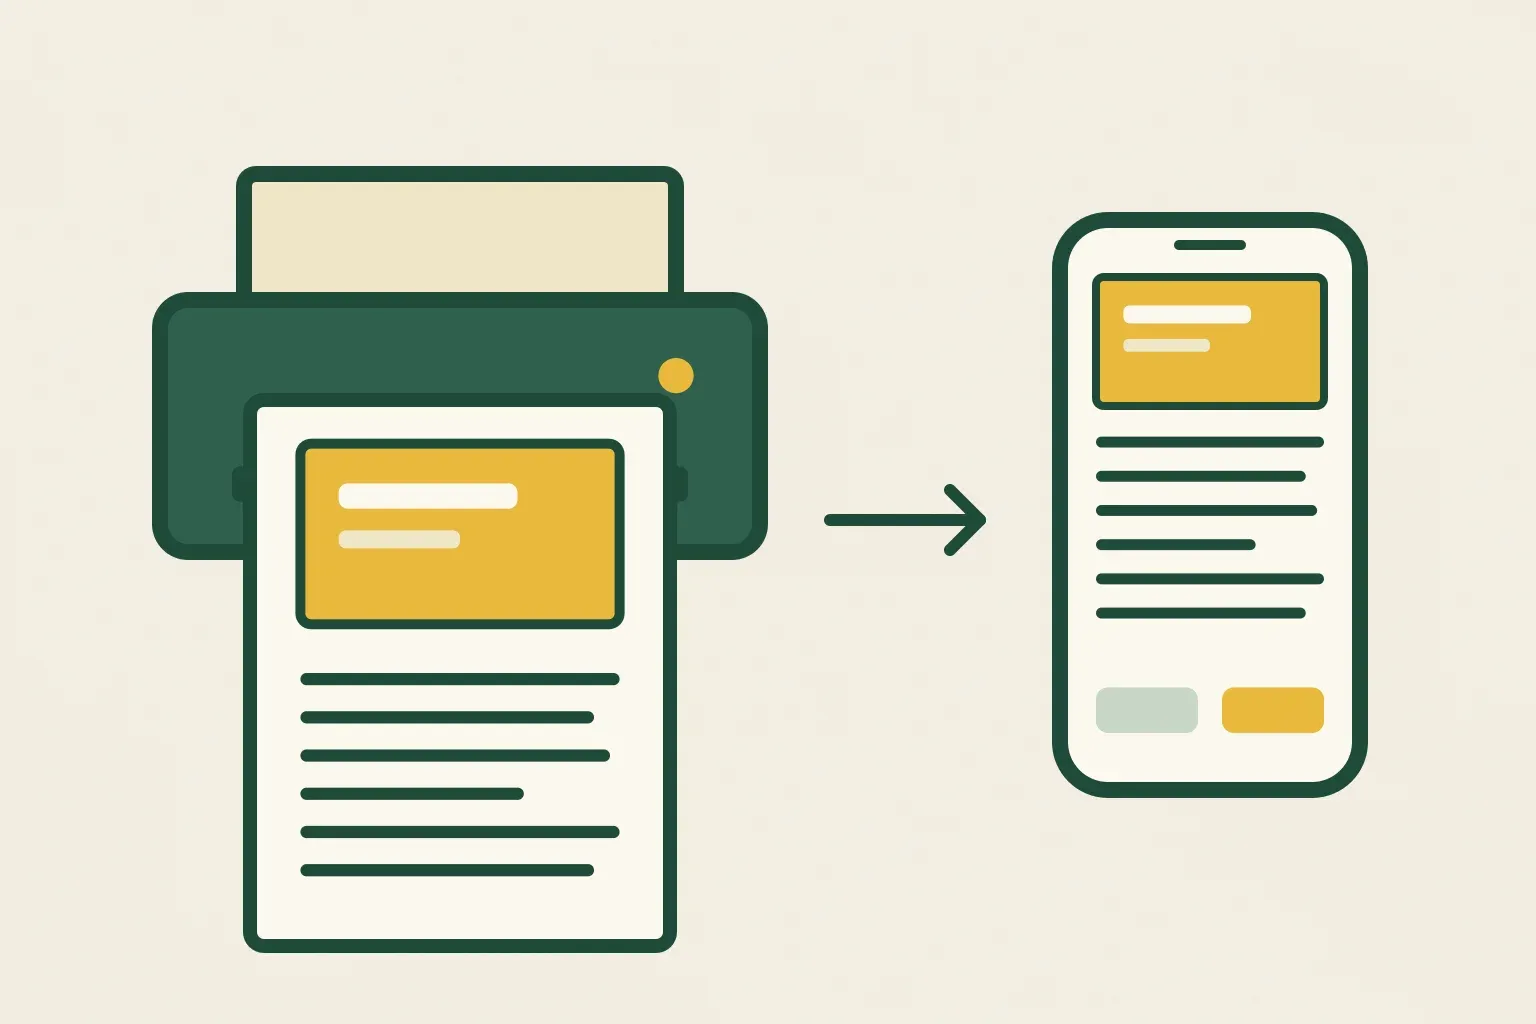
To print Google Slides with speaker notes, open the presentation on a computer and choose File → Print preview. In the toolbar that appears, change the layout from 1 slide without notes to 1 slide with notes, then click Print, or Download as PDF to keep a copy. Each slide prints on its own page, with the slide at the top and its notes underneath.
That is the route in Google’s printing help, which calls the menu item Print settings and preview. In the Slides editor we checked on 25 October 2026, the File menu shows it as Print preview. The rest of this guide covers what each layout puts on paper, why the handout layouts don’t include your notes, how to save the notes as a PDF, and what to check when the notes come out missing or hard to read.
Print slides with notes, step by step
- Open the presentation in Google Slides on a computer.
- Click File → Print preview. The editor switches to a preview of the printed pages with its own toolbar.
- Click the layout menu, which starts on 1 slide without notes, and choose 1 slide with notes.
- Scroll through the preview. Each page shows one slide and the notes typed under it in the editor.
- Optional: click Hide background to save ink on dark or photo-heavy themes, and check whether Include skipped slides is switched on (it is highlighted when it is).
- Click Print. Your browser’s print window opens; choose the printer, the pages and two-sided printing there, then click Print again.
To leave the preview without printing, click « Close preview at the left of the toolbar.
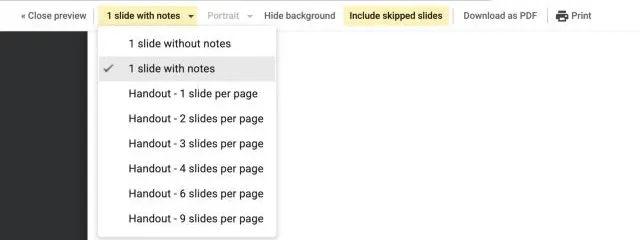
The notes layout prints portrait. In our check the orientation button was greyed out for 1 slide with notes, so there is no landscape version of a notes page. In our 50-slide test deck, with skipped slides included, the preview showed 50 pages, one per slide, so the page numbers in the print window matched the slide numbers. To print the notes for slides 5 to 8, enter pages 5–8, after checking the page count in the preview matches your deck.
Which layout prints what
The layout menu has eight choices. Only one of them prints your speaker notes.
| Layout | What is on each page | Use it for |
|---|---|---|
| 1 slide without notes | One full slide | Printing the deck itself |
| 1 slide with notes | One slide at the top, its speaker notes below, portrait | Your own copy to rehearse or present from |
| Handout – 1, 2, 4, 6 or 9 slides per page | Slides only, in a grid | An audience copy or a compact overview |
| Handout – 3 slides per page | Three slides down the left, blank ruled lines on the right | An audience copy people can write on |
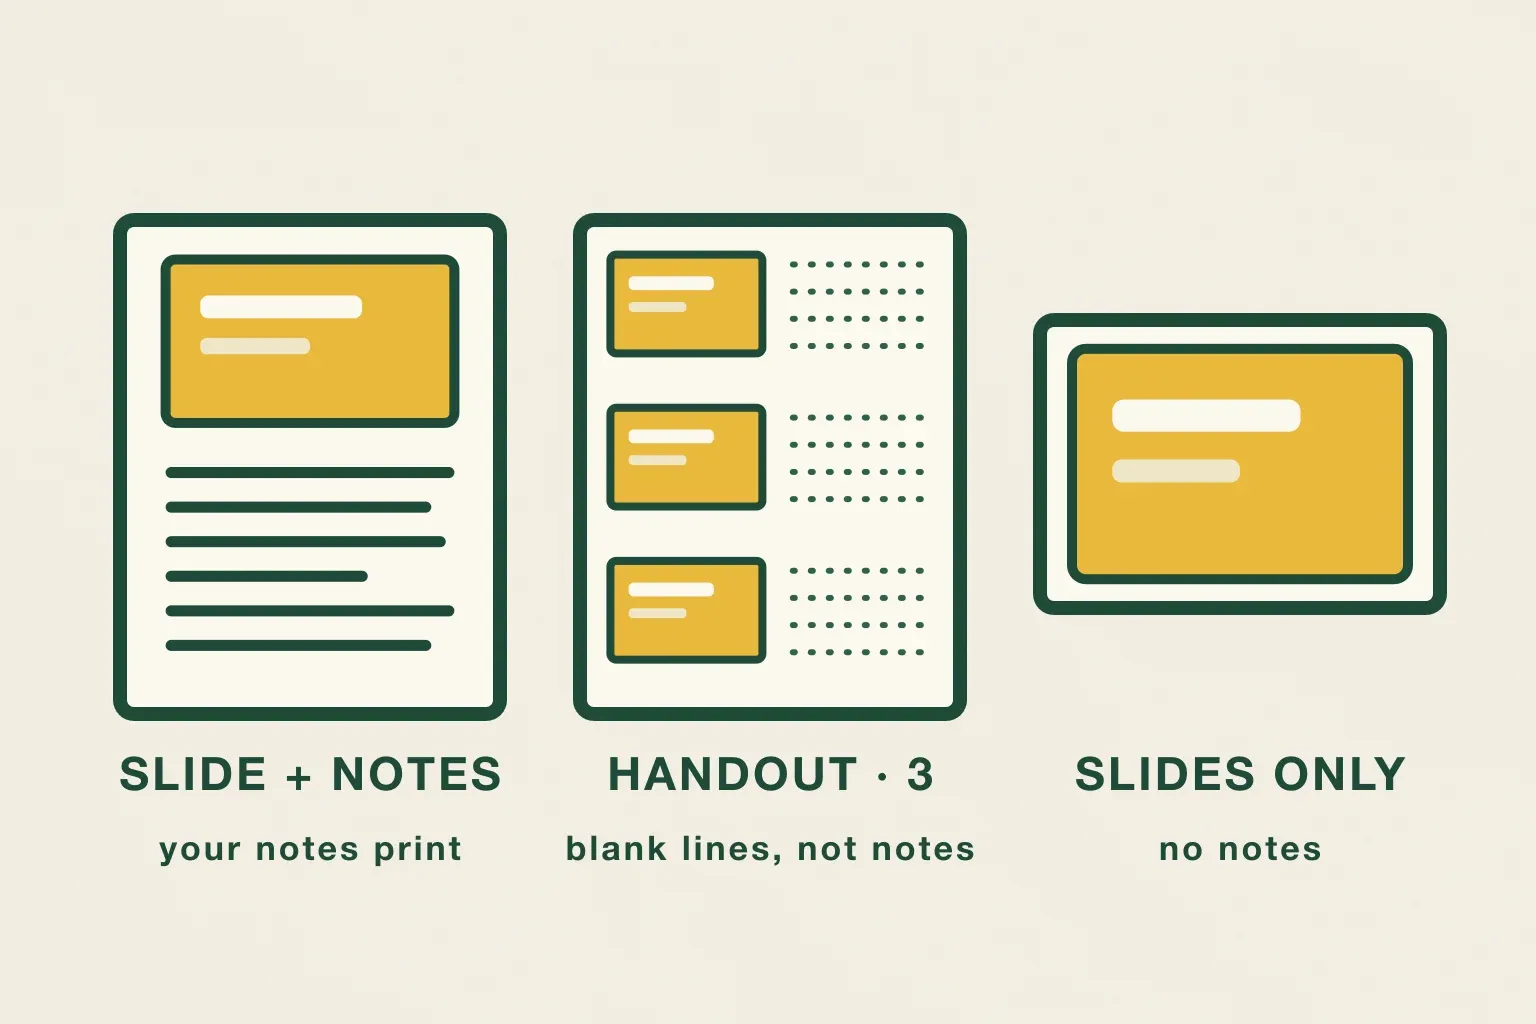
The three-per-page handout is the one that catches people out. The lines beside each slide look like notes in the preview, but they are empty lines for the audience to write on; none of your speaker notes appear. In our 50-slide test deck, that layout came to 17 pages, while the notes layout came to 50.
Handouts are where orientation can change. Google’s help gives Handout → Landscape as the way to adjust orientation, and in our check the orientation menu became available as soon as a handout layout was chosen.
Save the slides and notes as a PDF
There are two PDF routes in Slides, and only one keeps your notes:
- Print preview → Download as PDF saves exactly what the preview shows. Choose 1 slide with notes first and the PDF has your notes.
- File → Download → PDF document (.pdf) downloads the deck straight away, with no layout choice. Use it for a slides-only copy, not for notes.
A notes PDF is useful for more than printing. You can send it to a co-presenter who needs to rehearse your part, keep it on a tablet as a backup, or print it later from a computer that doesn’t have access to the presentation.
Google’s help also says that in Firefox or Safari, File → Print downloads a PDF that you then open and print from your PDF viewer. If you use one of those browsers and want notes, start from Print preview and choose the notes layout before you download, then print the PDF.
Print only the speaker notes
The layout menu has no notes-only option, so every notes page includes the slide. If you want a script without the pictures, copy the notes into a document:
- Create a new Google Doc and give each slide a heading, such as “Slide 4 — Results”.
- Open each slide in the Slides editor, click in the speaker notes box, select the text and copy it under the matching heading.
- Print the document, or set a larger font first so you can read it at arm’s length.
It is manual, and it goes out of date as soon as the notes change, so do it last. For most talks, the 1 slide with notes printout is a better cue sheet anyway: the slide thumbnail tells you where you are at a glance.
Print from a phone or tablet
Google’s Android printing steps and iPhone and iPad steps are the same for Docs, Sheets and Slides: in the app, tap More, then Share & export → Print, choose the printer and tap Print. Neither page mentions a speaker-notes layout. To print with notes, use Print preview on a computer, or download the notes PDF there and print that file from your phone.
Make the notes easy to read on paper
A printed notes page only helps if you can find your next point mid-sentence. Before you print a whole deck:
- Check the longest note. Scroll to the slide with the most notes in the preview. If the text looks cramped or doesn’t fit, shorten it or move some of it to the next slide’s notes.
- Lead with the cue. Start each note with the one phrase you need to remember, then the detail. You will glance at the first line far more often than you read the rest.
- Keep it in slide order. Print one-sided if you will be turning pages at a lectern, so you never have to flip a page over to find the next slide.
- Show slide numbers. Insert → Slide numbers puts a number on each slide, so it appears on every printed thumbnail too and a dropped stack is quick to put back in order.
- Print last. Notes change in the final rehearsal. Print after it, or bring a PDF you can reprint at the venue.
A worked example
Hypothetically, a sales lead is presenting a 24-slide pitch with a co-presenter who handles slides 10 to 15. They open File → Print preview, choose 1 slide with notes, switch off Include skipped slides because four backup slides are hidden, and click Hide background because the theme is dark. They print their own pages one-sided and use Download as PDF for the full set, which they send to their colleague. For the client, they choose Handout – 3 slides per page and print one copy per person, so the audience gets lines to write on but none of the private notes.
Or read your notes on your phone instead
Paper doesn’t move when you change slides. If you go back to answer a question or skip ahead, you have to find the right page yourself, and a dropped stack can lose your place entirely.
Two on-screen options follow the slide for you. Google’s presenter view shows the notes on your computer while the audience sees only the slides, which works when you can see the laptop screen while you speak. If you would rather move around, Copresent shows the current slide’s notes on your phone and turns the phone into a remote for Google Slides. The presenting computer runs a Chrome extension and you sign in with Google on the phone; there is no app to install. The notes change as the slide changes, and you can make the text bigger or smaller on the phone.
A printed copy is still a sensible backup. Keep the notes PDF or a few printed pages in your bag in case the venue’s Wi-Fi or a device lets you down.
If the notes don’t print
| What you see | Likely cause | Fix |
|---|---|---|
| Slides print but no notes | The layout is still 1 slide without notes, or a handout | Choose 1 slide with notes in Print preview |
| The PDF has no notes | It came from File → Download → PDF document | Use Download as PDF inside Print preview |
| Lines beside the slides, but empty | Handout – 3 slides per page prints blank lines for writing | Switch to 1 slide with notes |
| Some pages have a slide and empty space | Those slides have no notes | Add notes in the editor, or accept the space |
| More pages than expected | Notes print one slide per page; skipped slides may be included | Switch off Include skipped slides, or print a page range |
| Pages use a lot of ink | A dark or photo background prints on every page | Click Hide background before printing |
| There’s no Print or Print preview in the File menu | You have view-only access and the owner has turned off printing and downloading for viewers | Ask the owner for a copy, edit access or the notes PDF |
| Printing from the phone app has no notes option | Google’s mobile print steps don’t offer a notes layout | Print from a computer, or print a notes PDF made on one |
Check before you print
- Layout: the toolbar says 1 slide with notes.
- Slides: Include skipped slides is on or off, as you intend.
- Ink: Hide background is on for dark themes.
- Text: the longest note fits and is readable at arm’s length.
- Copies: your copy has notes, and any audience copy is a handout with no private notes.
Printing your notes takes a minute once you know the layout menu. Choosing 1 slide with notes, not a handout, is the step that makes the difference.