Updated · By Peter Kovalsky
How to Record a Google Slides Presentation With Voice-Over
To record a Google Slides presentation with your voice, open the deck in Chrome or Edge on a computer, click Record in the panel on the right of the editor, then click Record video. You choose whether to capture your camera and the slides, your voice only, or the slides only, then present as normal. The recording opens in Google Vids, where you can trim it, share a link or download it as a video file.
That is Google’s own route, and it is the quickest. It isn’t the only one. A screen recorder on your computer gives you a video file without Vids, and a voice-over recorded slide by slide turns the deck itself into a narrated presentation that plays inside Slides. This guide covers all three, how to keep your speaker notes out of the recording, and what to check before you send the video.
Pick the method that fits
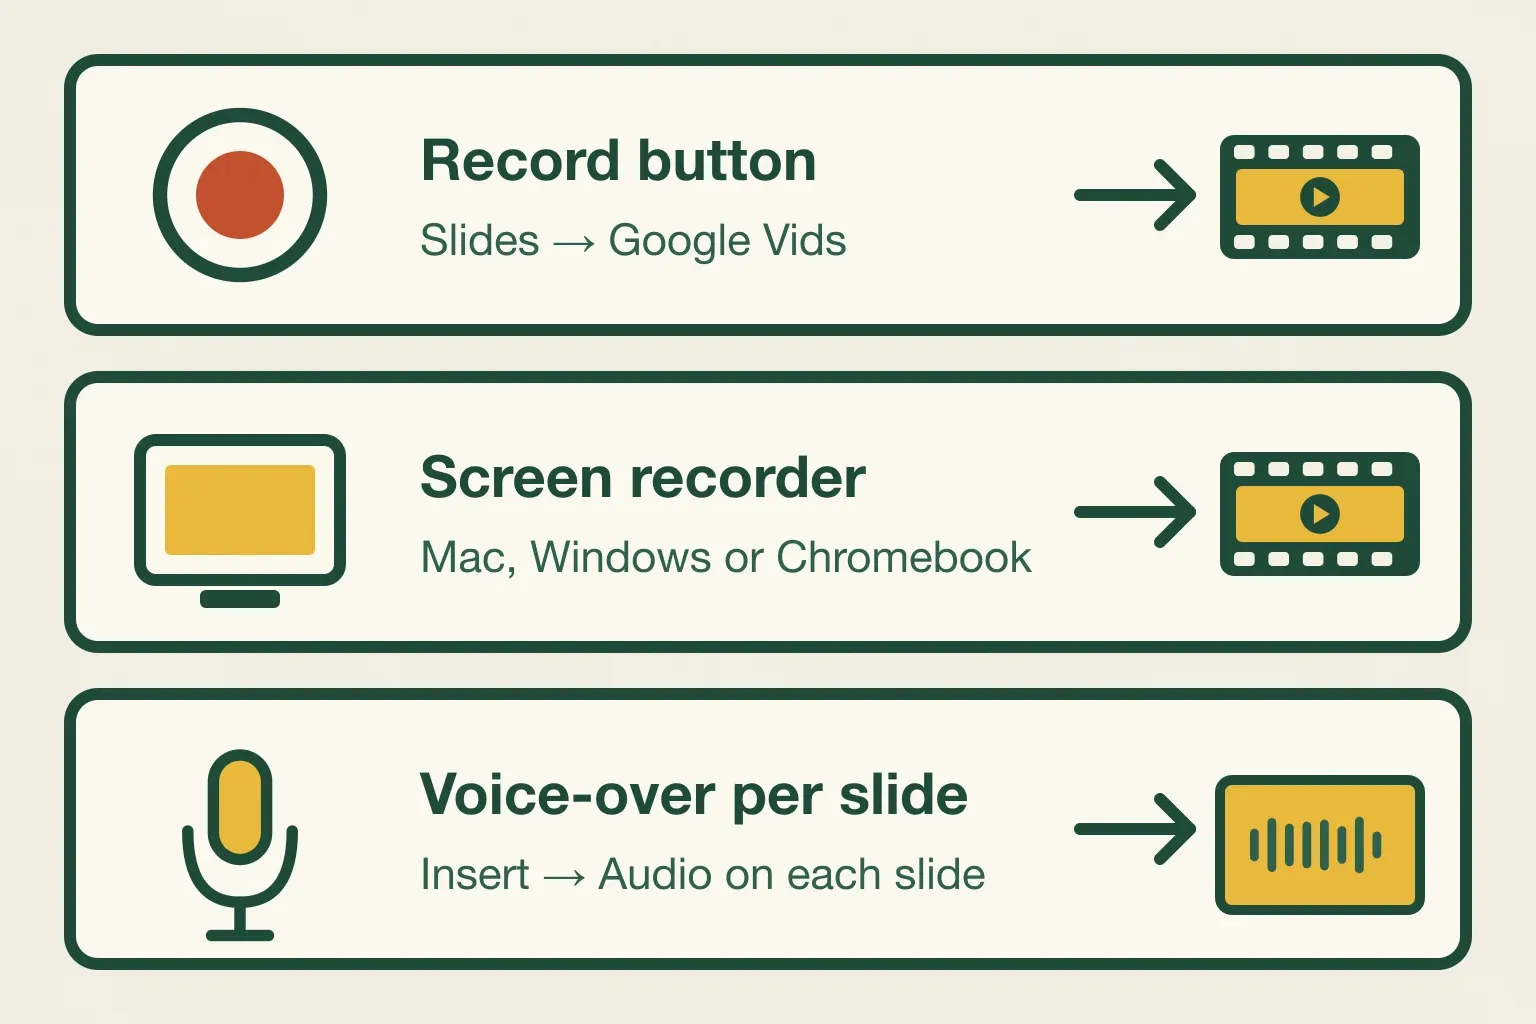
| Record button (Google Vids) | Screen recorder | Voice-over on each slide | |
|---|---|---|---|
| What you end up with | A video in Google Vids, shared as a link or downloaded | A video file on your computer | The same Slides deck, with a sound on each slide |
| Your webcam in the video | Yes, if you choose camera and screen | Depends on the recorder | No |
| Fix one slide later | Trim in Vids, or re-record | Edit the video, or re-record | Re-record that slide’s audio only |
| Works best for | Lessons, updates and pitches people watch as a video | Accounts without the Record button, or when you want a plain file | Self-paced decks people click through |
| Needs | Chrome or Edge on a computer | A built-in or installed screen recorder | Audio files in Google Drive |
If you are unsure, start with the Record button. Use a screen recorder when the button isn’t there or you want a plain video file without Vids, and use per-slide narration when people will open the deck rather than watch a video.
Method 1: Record with the Record button
When we checked the Slides editor on 25 October 2026, a Record button sat in the narrow panel on the right of the editor, under Image, Media and Uploads. Clicking it opened a Record panel that says recordings are made with Google Vids, with a single Record video button. Google announced this Vids-based recording on 20 August 2026 for Workspace and personal Google accounts, rolling out over the following weeks. Google’s help page still says it “may only be available on certain work or school accounts”, so if you don’t see the button, your account may not have it yet.
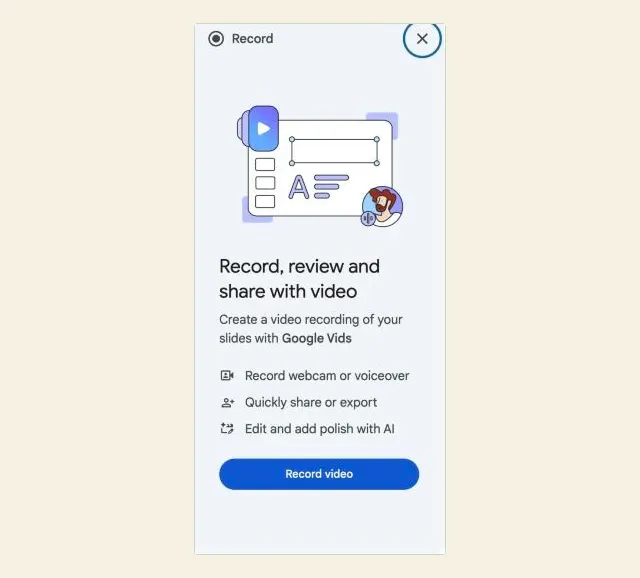
The steps below follow Google’s record a presentation with Google Vids help page:
- Open the presentation in Chrome or Edge on a computer. Google’s help says recording works only in those two browsers, although people can watch the result in any browser that runs Drive.
- Click Record on the right, then Record video.
- Choose what to capture: Camera & Screen puts you in a small picture-in-picture window over the slides, Audio records your voice only, and Screen records the slideshow with no voice.
- Check the camera and microphone. You can pick a different one from the menus under the preview, which matters if you have a headset or USB microphone plugged in. Allowing the camera and microphone is optional at this point; Google’s help says you can turn them on later in Chrome’s settings.
- Click Next to confirm the setup, then present the deck the way you would to a room: move through the slides and talk.
- When you finish, click Share & copy link to send it, or click the edit icon to open it in Google Vids.
In Vids you can edit the recording, including trimming it from its transcript, before anyone sees it. Google’s Vids help says a Vids video can be up to 30 minutes long, and that you can share it as a Vids link or download it as an MP4 file to upload elsewhere, such as an LMS or a client portal. If you record a long talk, split it into parts of under 30 minutes, for example one video per section of the deck.
To find a recording later, open Google Vids and click the file. It isn’t attached to the deck the way speaker notes are, so name it clearly, such as “Week 6 lesson — recorded 25 Oct”.
The older Rec button
Some work and school accounts had an earlier recording tool before Vids. Google’s Slides recording help says those accounts keep it, now under View → Slides recording. With it you click Rec, then Record new video, press the red button to start, and when you pause choose Re-record or Save to Drive. It needs edit access to the deck and Chrome or Edge, recordings are limited to 30 minutes each, and they are saved in a My Drive folder called Slides recordings. Our test account had no Slides recording item in the View menu, which fits Google’s note that only accounts that already had the tool keep it.
Method 2: Record your screen while you present
A screen recorder records whatever is on your screen, including the slideshow, plus your microphone. It works with any Google account and gives you an ordinary video file. Every main computer has one built in.
Before you start, set up the screen so the recording shows only the slides:
- Close or mute anything that might pop up: email, chat and calendar notifications.
- Open the deck and click Slideshow, so the slides fill the screen. Don’t record the editor; viewers would see the filmstrip and menus.
- Decide where your speaker notes will be. More on that in the next section.
Then record:
On a Mac: press Shift-Command-5 to open the Screenshot toolbar. Choose Record Entire Screen, or Record Selected Portion and drag the frame around the slides. Click Options and choose your microphone, otherwise there will be no voice. Click Record, present, then click the stop button in the menu bar. Apple’s screen recording help says the file saves to your desktop by default.
On Windows 11: open Snipping Tool, select Record, then New, or press Windows logo key + Shift + R. Select the area to record, the full slideshow, and select Start. Select Stop when you finish, then save the file. Microsoft’s Snipping Tool help doesn’t say whether it records your microphone, so make a ten-second test and play it back before the real take.
On a Chromebook: press Shift + Ctrl + Show windows, select Screen record, open Settings and choose Microphone under audio. Pick full screen, a window or an area, then click to start. Stop with Stop recording at the bottom right, or Search + Shift + X. Google’s Chromebook screen capture help says recordings save to Downloads as .webm files, and you can turn on the front camera in the same settings.
A screen recording is a single take with no built-in editing on most of these tools. If you stumble, you can pause, say the sentence again and trim later in a video editor, or simply start over. Short decks are easier to redo than to edit.
Keep your speaker notes out of the recording
The main problem with recording yourself presenting is that the recording sees what you see. If your notes are on the same screen as the slides, viewers see them too.
- With a screen recorder, record only the slideshow window or a selected area, and put your notes somewhere outside it. On a Mac, Record Selected Window (on recent macOS versions) or Record Selected Portion does this. With two monitors, put Google’s presenter view on the screen you aren’t recording.
- With one screen, read your notes from a different device. Copresent puts the current slide’s notes on your phone and lets you move the slides from it, so the laptop shows nothing but the full-screen slideshow while you record. The presenting computer runs a Chrome extension and you sign in with Google on the phone; there’s no app to install. The notes follow the slide as you advance. This works with a screen recorder because the recorder only sees the laptop.
- With the Record button, Google’s help doesn’t say whether your Slides speaker notes appear during recording. Vids has its own teleprompter for the Camera and Camera and screen recording modes: Google’s Vids recording help says you add a script first, then read it in the recording studio. A printed copy of your notes, made with the print with speaker notes steps, works with any method.
If you haven’t written notes yet, add speaker notes to each slide first. Short cue lines are easier to glance at while talking to a camera than full sentences.
Method 3: Add a voice-over to each slide
This method doesn’t make a video. It adds your narration as audio inside the deck, so someone clicking through the slides hears you explain each one. It suits self-paced lessons and decks you share as a link.
Slides can’t record a sound directly onto a slide, so you record the narration elsewhere and insert it:
- Record one clip per slide. Use your phone’s voice recorder or any recording app on your computer. One clip per slide means you only re-record the slide you change.
- Save each clip as MP3 or WAV. Those are the two formats Google’s Slides audio help lists. iPhone Voice Memos saves .m4a, so convert it first.
- Upload the clips to Google Drive. Name them by slide, such as “Slide 03 — results.mp3”, so they’re easy to pick.
- Insert each clip on its slide. In the editor, click the slide, choose Insert → Audio, select the file and click Select.
- Set it to play by itself. Click the speaker icon, open Format options and set it to start automatically. Tick Hide icon when presenting if you don’t want the speaker on screen, and leave Stop on slide change ticked so one slide’s narration never talks over the next.
Our music and audio guide has more on these playback settings, sharing the audio files and fixing sound that won’t play.
The catch is timing. Slides’ auto-advance moves to the next slide at the speed you pick for the whole slideshow, not when each slide’s narration ends, and Google’s presenting help says to set it again each time you present. A narrated deck works best when the viewer clicks to the next slide themselves. Say so on the first slide: “Click or press the right arrow when I finish each slide.” If you need it to play hands-free from start to finish, record a video with Method 1 or 2 instead.
Share the audio files with the people who will open the deck. The audio stays in your Drive, and a viewer who can’t open the file hears nothing.
A worked example
Hypothetically, a teacher wants to send a 12-minute recorded lesson to students who were absent, and also keep a version students can click through at their own pace.
For the video, they open the deck in Chrome, click Record, choose Camera & Screen, and pick their USB microphone from the menu. Their notes are on their phone through Copresent, so they look at the camera rather than down at a second window. They fumble the explanation on slide 7, keep going, and cut that part in Vids afterwards. They download the MP4 and upload it to the class’s learning platform.
For the click-through version, they record a short clip for each of the 14 slides on their phone, convert them to MP3, upload them to a Drive folder called “Lesson 6 narration” and insert each clip on its slide, set to play automatically with the icon hidden. When a student points out a mistake on slide 9, they re-record that one clip instead of the whole lesson.
If something goes wrong
| What happens | Likely cause | What to do |
|---|---|---|
| There’s no Record button | Your account doesn’t have it yet; Google says it may be limited to some work or school accounts | Use a screen recorder instead |
| Recording won’t start | Not in Chrome or Edge, or the camera or microphone is blocked | Switch browser; allow the camera and microphone in Chrome’s site settings |
| The video has no voice | Wrong microphone chosen, or the recorder wasn’t recording audio | Pick the microphone in the recorder’s options, then test for ten seconds |
| Viewers can see your notes | The recording included presenter view or the editor | Record only the slideshow window, or read notes from your phone |
| The recording stopped or was cut short | Vids and Slides recordings have a 30-minute limit | Record in parts of under 30 minutes |
| An audio clip isn’t in the Insert list | It isn’t MP3 or WAV, or isn’t in Drive yet | Convert it and upload it, then search Drive by name |
| Narration plays for you but not for others | They can’t open the audio files in Drive | Share the files with them |
If you record on Zoom or Google Meet instead, by recording a call while you share the slides, the same notes problem applies. The Zoom sharing guide covers sharing only the slideshow window.
Check before you send it
- Watch the whole recording once, at normal speed, with sound.
- Notes and private windows don’t appear anywhere in the video.
- Your voice is clear and louder than any background noise or music.
- Every slide is on screen long enough to read, especially charts and tables.
- Links work for the people you are sending it to: a Vids link, a Drive file, or the deck and its audio files.
- Length is under 30 minutes if you used Vids or Slides recording, and short enough that people will watch it.
Recording takes one run-through. Watching it back before you send it is what catches the missing microphone, the notes in the corner and the slide that flashed past.